Overview
ARitize 3D's QuickAR enables online retailers to offer Augmented Reality (AR) and 3D product views to shoppers with minimal technical and operational investment. In order to add the ARitize 3D tag into the WooCommerce installation, we will need to add some extra codes to your WooCommerce website.
Tag Details
Access to modify the WordPress page/post is required to add the AR and/or 3D buttons onto the product pages.
By following these instructions, the following buttons will be added to your product page:
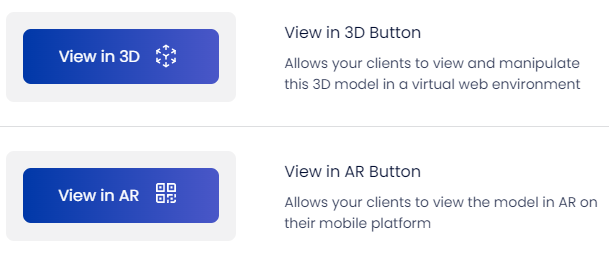
Step 1:
Go to your WordPress homepage.
Step 2:
Access posts/pages that 3D/AR buttons would be placed.
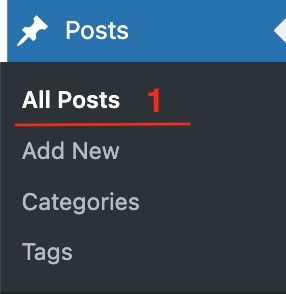
- Click Posts -> All Posts in the left menu.
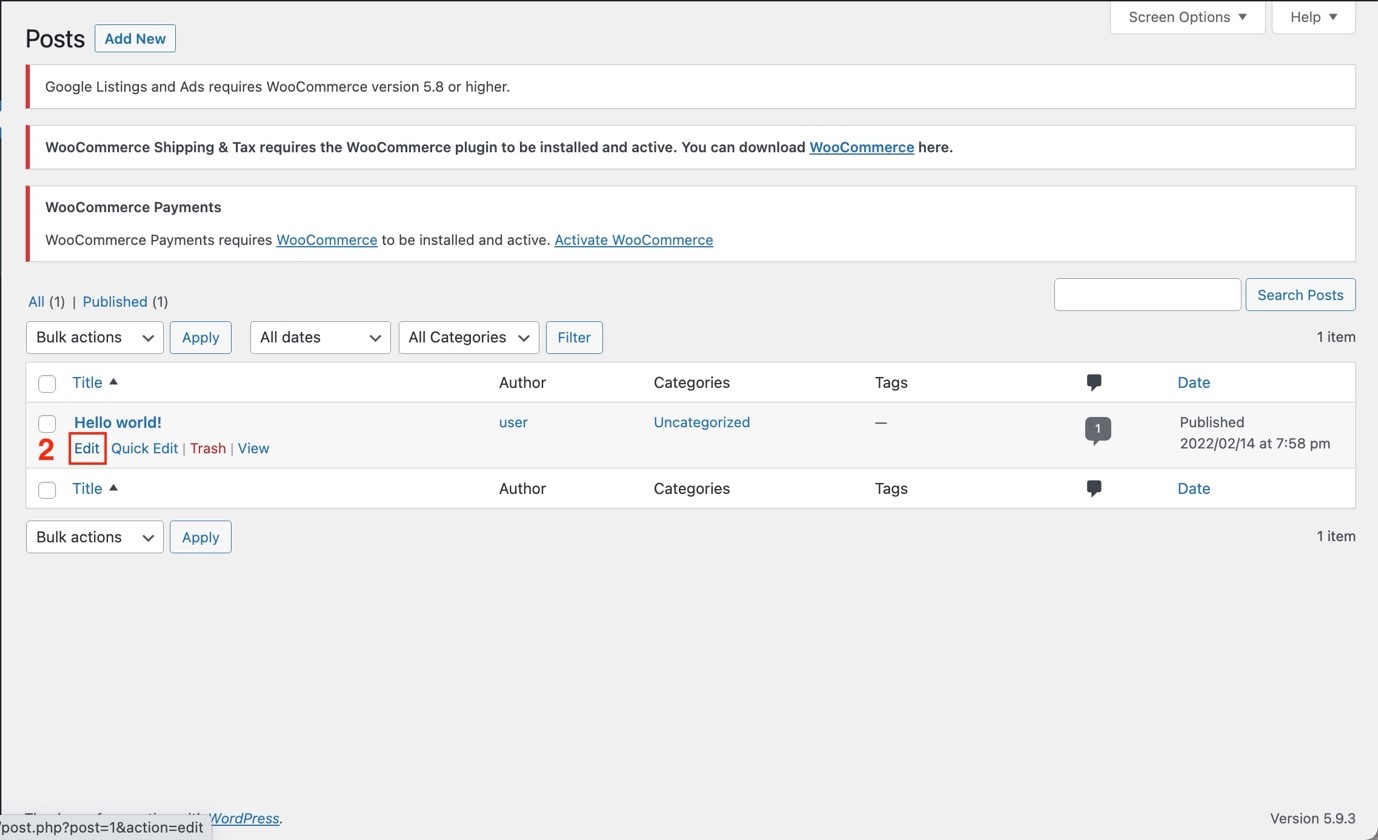
2. Click Edit to modify the post to add 3D/AR buttons in.
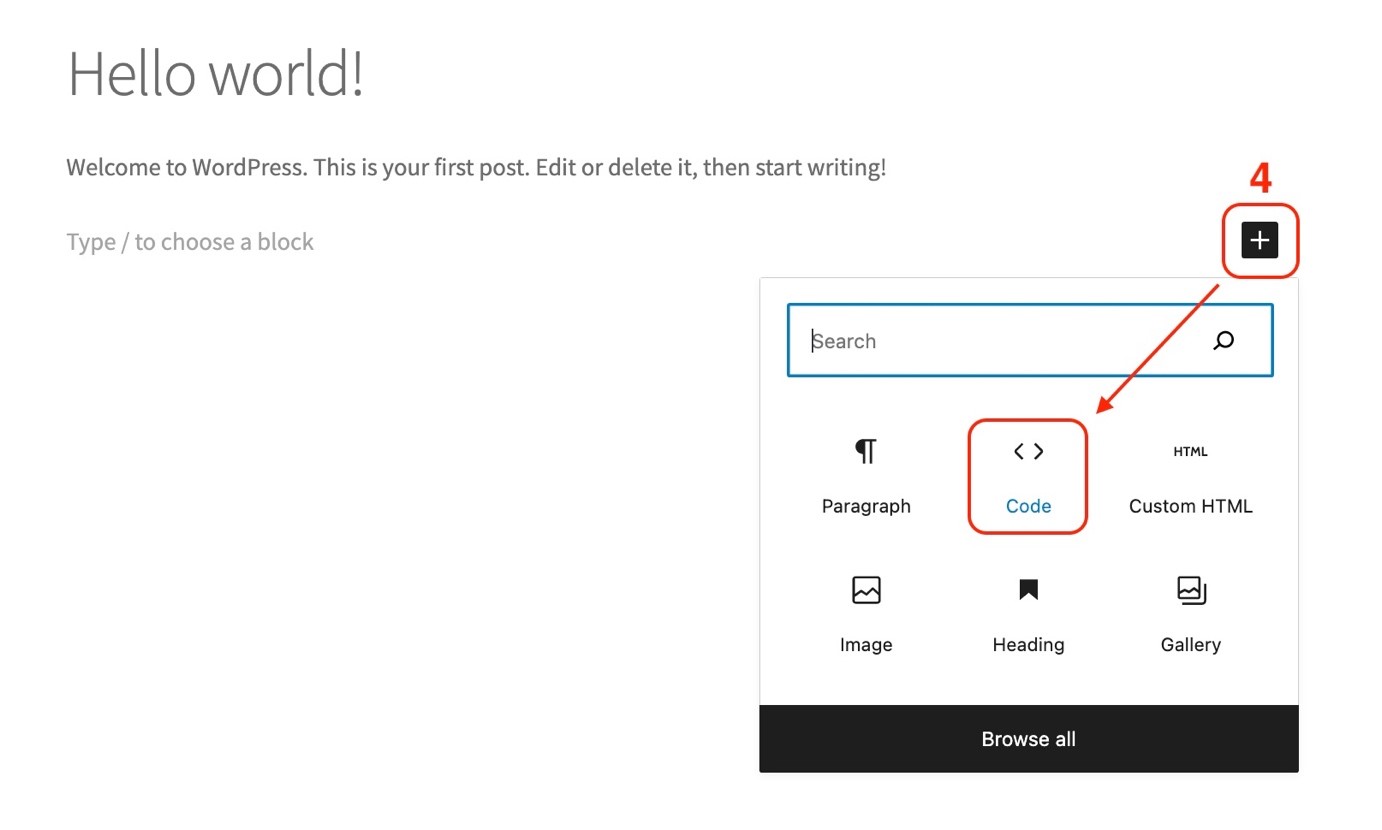
3. Press Enter add a new block.

4. Click + to add new content and click Code to add a code block.
5. Paste the code below into the code block.
Insertion Process
The process of inserting the JavaScript tag is easy.
- Find your personalized code and client key by following this guide.
- Follow the guide above if you would like to include buttons for ARitize Configurator and ARitize Decorator. If you are interested in learning more, please contact us.
- Paste the code below into your tag management system where you want the buttons to appear on your website.
Code to paste:
<script type="text/javascript">
    (function (sc, d, t, u, k, s, p) {
        if (sc.QUICK_AR_INIT) return; sc['QUICK_AR_INIT'] = { key: k };
        s = d.createElement(t), p = d.getElementsByTagName('head')[0]; s.src = u; p.appendChild(s);
    })(window, document, 'script', 'https://cdn-quick-ar.threedy.ai/latest/threedy.js', 'REPLACE_CLIENT_KEY');
</script>
<div data-threedy-web-id="REPLACE_ID" data-threedy-sku="default">
    <button class="threedy-3d-btn threedy-embed-btn" style="display: none;">View in 3D</button>
    <button class="threedy-qar-btn threedy-embed-btn" style="display: none;">View in AR</button>
</div>
*IMPORTANT*
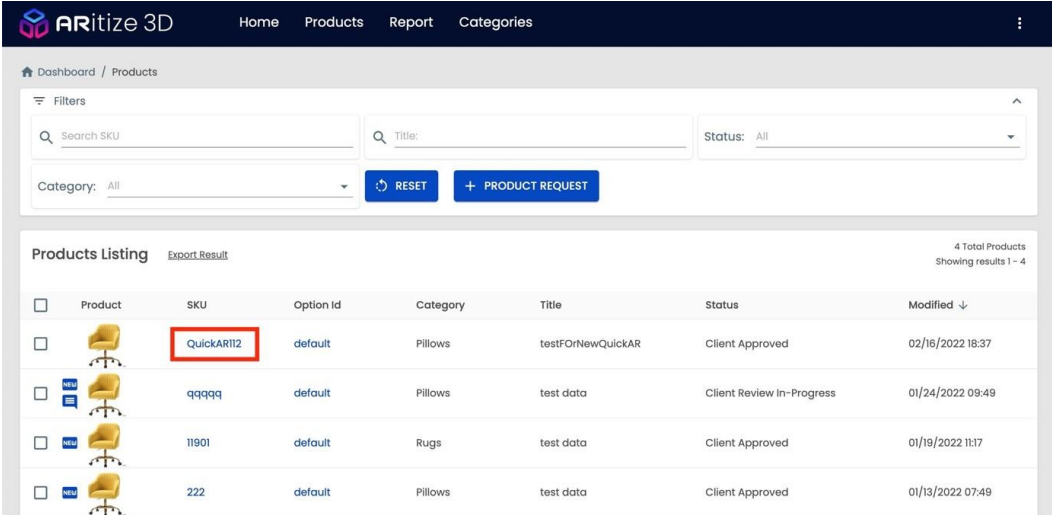
1. In the code above, the values for data-threedy-web-id and data-threedy-sku need to be set according to the values of the SKU and Option ID in the ARitize portal (https://portal.threedy.ai/). You can find these values by selecting Products in the top navigation which then shows the listing of the products.
- The columns for SKU and Option ID are used by the data attributes data-threedy-web-id and data-threedy-sku.
2. Dynamically change the text REPLACE_ID to the product's SKU. This can be done using
JavaScript and will depend on your website's platform. If the SKU matches the SKU the
client portal (https://portal.threedy.ai/), the buttons will appear for the user.
3. The data-threedy-sku="default" can be excluded if the Option ID is set to default in
the client portal. Otherwise, replace default in the code above with the Option ID for the
product.
4. The two values, REPLACE_ID and default, can be set on user action via JavaScript after
the page has been loaded.
5. Replace the value of REPLACE_CLIENT_KEY in the code above with the client key provided by ARitize 3D. Please refer to the Retrieving the Embed Code & Client Key Instructions for guidance.
Note:
The buttons should be hidden (i.e., have display:none CSS style) at page load time, and once ARitize 3D detects a product model is available, the script will toggle them to be visible. Each button is independent of the other, so you can choose to insert both or just one of the buttons.
The ARitize 3D buttons will only appear on products where the values of REPLACE_ID and default match a product in the client portal.
That's it!
As you approve models on the portal, the buttons will automatically populate on your product pages.
Live Experience
Once the tag is live, two user experiences for the 'View in AR' button differ depending on if the shopper is on a mobile or desktop device:
- Mobile Web - When the shopper interacts with the 'View in AR' button, the experience launches via WebAR on the mobile device. Here they can see the model in their space.
- Desktop Web - When the shopper interacts with the 'View in AR' button, a QR code is shown. If scanned with a mobile device camera it will launch the mobile WebAR experience.